

Gadget Tetris: Why Packing Tech for Flights Is an Art (and a Little Bit of Magic)
Think of packing tech as a satisfying game of GADGET TETRIS.
This short guide gives practical, step-by-step strategies: decide what to bring, organize cables, protect fragile gear, manage power, and survive security lines.
Expect actionable lists, quick wins, and clever tricks to save space and reduce stress on travel days.
You’ll learn pouch layouts, cable hacks, battery rules, packing order, and airport tactics. Small swaps and folding methods often free up room; a handful of predictable routines keeps gadgets protected and your sanity intact.

Make a Smart Tech Game Plan: What to Bring and What to Leave Behind
Assess the trip: purpose, dependency, and frequency
Start by asking three quick questions: Is this trip for work, leisure, or both? How mission-critical is each device (can you do your job without your laptop?) And how often will you use it on the trip (all day, nightly, or never)? A business traveler who must run video calls needs a laptop, a reliable webcam, and noise-cancelling headphones. A beach-goer? Phone, camera (if you love photos), and a waterproof case are likely enough. Treat each device like a ticketed guest—only those who add clear value get an invite.
The one-spare-rule & redundancy
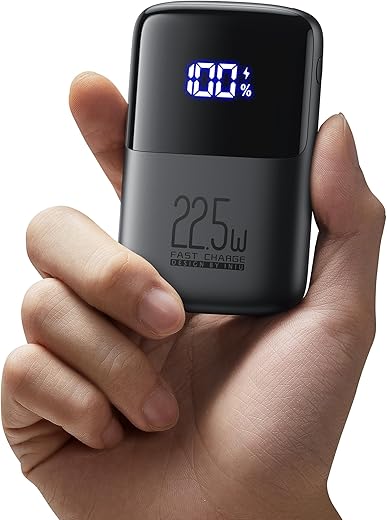
Keep redundancy purposeful: one spare cable and one spare charging brick is usually enough—call it the “one-spare-rule.” Duplicate every essential component you can’t replace en route (phone charger, prescription headphones), but skip spares for things you can borrow or buy easily. For batteries, bring a single high-capacity power bank (e.g., Anker PowerCore 10000) rather than three tiny ones that take more space.
Essentials checklist (compact)
These cover 90% of travel power/connectivity needs without turning your carry-on into a tech graveyard.
Leave-it-if guide: when to delegate or ditch
Leave it if:
If an item is large but essential—say a full camera kit—delegate it to checked luggage, padded in a protective case.
Create a reusable packing template
Make a 5–7 item checklist per trip type (business, weekend, adventure). Save it on your phone or in a note app. Before each trip, tweak one template instead of starting from scratch—your future airport-self will thank you.
Next up: once you’ve decided what comes, we’ll tackle how to tuck everything into pouches, pockets, and packing cubes so it all fits snugly and survives the journey.
Pouches, Pockets, and Packing Cubes: Organize Like a Pro
Why compartmentalize?
Think of your bag as a tiny apartment: everything needs a drawer. Compartmentalizing saves space, prevents the frantic “what-cable-is-this?” scramble at security, and turns unpacking into a two-minute task instead of a treasure hunt. Real-world test: flight attendants and frequent flyers report finding items 60–80% faster when tech is organized into dedicated pouches.
Organizer types & when to use each
Practical arrangements (how to pack)
Quick-access vs stored items
Labeling, color-coding, and cord control
Next up: how to protect those gadgets from bumps, liquids, and the occasional luggage toss—without turning your bag into a bubble-wrapped museum.
Protecting Your Electronics and Accessories Without Turning Into a Bubble Wrap Hoarder
Smart sleeves and hard cases that actually travel well
Think protection that’s slim, not smothering. For tablets and slim laptops, padded sleeves with semi-rigid panels (Tomtoc, Incase) take drops without turning into a muffin tin in your bag. Portable SSDs and external drives like Samsung T7 or SanDisk Extreme portable drives do best in small hard-shell cases (Pelican 1010/1120-sized or Orico shockproof pouches) rather than loose in a pouch—rigid walls absorb pressure points.
Tidy cable protection that prevents fraying
Swap twisty ties for braided cables and cable wraps. Good options: Anker braided cables for durability, Nite Ize Gear Ties for reusable routing, and Velcro One-Wraps for everyday bundling. For truly fragile cords (USB-C dongles, lightning cables), tuck connectors into small silicone caps or heat-shrink tubing to stop bending at the stress point.
Cushioning inside luggage—use common sense, not construction supplies
Use soft items as buffers: socks, scarves, and a folded sweater make excellent shock absorbers around delicate gear. Snap-in compartments or modular dividers (camera or travel backpacks from Peak Design, Lowepro) prevent items from shifting. Pack heavier, tougher items (power bricks, adapters) closer to the bag’s spine; lightweight fragile items go on top or in a padded tech cube.
Protect exposed connectors and lenses
Small habits save heartbreak: always use lens caps and body caps for cameras, screen protectors for tablets, and port plugs for rarely-used slots (microSD/HDMI). If you’re stowing headphones or dongles, keep them in hard-mini cases (Pelican 1010, CASE LOGIC hard shells) so jostles don’t crush plastic housings or bend connectors.
Digital safety: backups, encryption, and remote options
Physical protection isn’t enough. Back up critical files before you travel (cloud + a local encrypted copy). Use device encryption (FileVault, BitLocker) and password managers for credentials. Enable Find My features (Apple’s Find My, Google Find My Device) and remote-wipe so you can lock or erase a lost device. Pro tip: take a photo of your device screenside showing serials/asset tags—they’re searchable if you need proof.
The “just-in-case” paperwork checklist
Next up: keeping those now-safe devices powered and connected on the road—without lugging a small power plant.
Power and Connectivity: Keep Your Devices Charged and Online (Without Overpacking)
Pick the right power bank — capacity that actually makes sense
Think in watt‑hours, not marketing fluff. Most long‑haul trips are fine with a 20,000mAh (≈74Wh) bank — enough for a phone several times and a tablet once. Quick rules:
How to check: Wh = (mAh ÷ 1000) × battery voltage (typically 3.7V). So a 20,000mAh pack ≈ 74Wh. Airlines also require power banks in carry‑on luggage — don’t stash them in checked bags. Always confirm your carrier’s current rules before flying.
Build a compact charging kit
Minimal, multi‑purpose, and light wins. Pack:
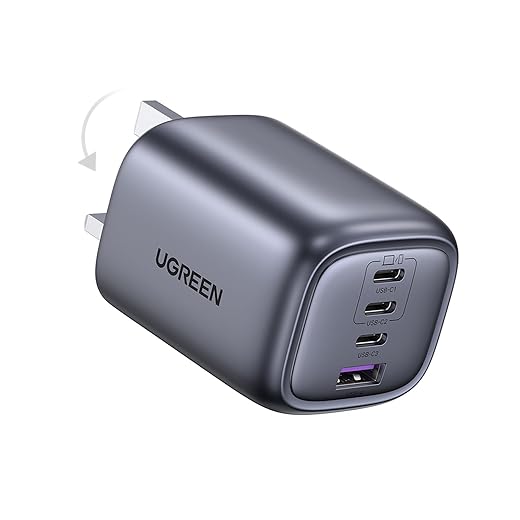
Good real-world picks: Anker 737/75W, Satechi 75W, or the UGREEN Nexode 65W for compact, fast PD charging.
Charging strategy on the road
Share smartly: use hotel room outlets to bulk‑charge overnight; keep one power bank on hand for transit. In airport lounges, don’t monopolize a multi‑outlet strip — charge quickly and free the spot. Bring a short cable to plug under a chair or lounge table and avoid running cords across walkways.
Flight battery‑saving and inflight Wi‑Fi etiquette
Cloud vs hauling extra drives
Cloud sync (Google Drive, iCloud, OneDrive) is lighter luggage and safer than lugging multiple SSDs. Use local encrypted copies for large video projects, but prefer a single small SSD (Samsung T7) over a dozen SD cards unless you’re shooting pro work.
Quick airline approval note
If your pack is 100–160 Wh, check the label or calculate Wh, then call/email the airline with model and Wh to request approval. Keep documentation in your carry‑on.
Next up: how to handle security lines, gate chaos, and those “oh no” moments when something inevitably goes missing.
Airport Day Tactics and Recovery Plans: From Security to ‘Oh No’ Moments
Pack for a 60‑second inspection
Arrange one clear, zippered security pouch with everything TSA/ICAO cares about: empty power banks, loose batteries, earbuds, and adapters. Stash thicker cables and dongles separately so you can lift them out in one motion—less rummaging, less slow-motion patting down at the X‑ray machine.
How to handle laptops and big devices
Slide laptops into a slim, dedicated sleeve (no snacks, no shampoo). If you’re asked to remove it, lift the sleeve out with two hands and place it in the bin screen‑first. For tablets, keep them in an easily reachable top pocket so you can pull them without unpacking your bag.
Flight‑ready, compact inflight kit
Keep a small zip pouch with:
This is your go‑to for delays, middle‑seat movie marathons, and pretending you’re organized.
Overhead vs. under‑seat strategy
Under‑seat: daily essentials, inflight kit, and fragile items you want immediate access to. Overhead: larger bags, backup chargers, camera bags. When storing bulky items, place heavier pieces toward the back of the bin and slide lighter bags in front—this minimizes the avalanche when the bin door opens.
Asking a neighbor for a hand (politely)
Short scripts that work: “Mind if I pop this up top? It’s heavier than it looks—many thanks.” Or offer a quick trade: “I’ll lift if you slide your bag in?” Smile helps—people are more likely to help a pleasant co‑conspirator.
Contingencies: lost cables, quick fixes, and damaged gear
If a cable or adapter vanishes, head to airport tech shops (InMotion, Hudson, Best Buy Express) or an Amazon Locker for fast replacements. Quick fixes: duct tape for cracked cases, cable ties for frayed cords, and electrical tape for exposed wires—temporary, but sometimes life‑saving. If a device is dropped or left behind, immediately contact the airline’s lost & found and use Find My (Apple) or Find My Device (Android) to lock or locate it. Photograph damage, keep receipts, and notify your insurer or credit card for claims.
Quick exit and post‑flight tech triage checklist
Ready for the final checklist and parting tips in the conclusion.
Game Over (But in a Good Way): Final Checklist and Parting Tips
Plan deliberately, organize smartly, protect well, manage power, and have recovery plans—your travel tech mantra. Bookmark this checklist and try the routine twice before your next departure for calmer travel days.
Door checklist: passport, primary device, charger, power bank, cables neatly stashed, padded pouch, backups noted, and a clear plan for security or mishaps. Practice your Gadget Tetris until packing is instinct and mildly satisfying—then go enjoy the trip.


This article is so practical — thank you!
I travel a lot for work and follow a simple checklist:
– Laptop in hard shell travel case, vertical in a padded sleeve
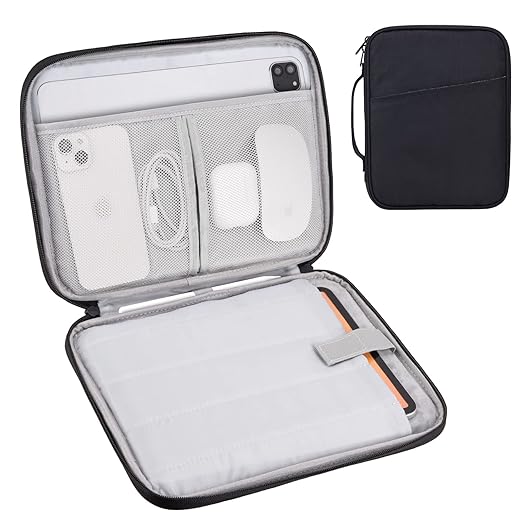
– Tablet in the shockproof foam case (9–11 inch fits my iPad Mini perfectly)
– All chargers in one small packing cube with elastic bands to keep cables tidy
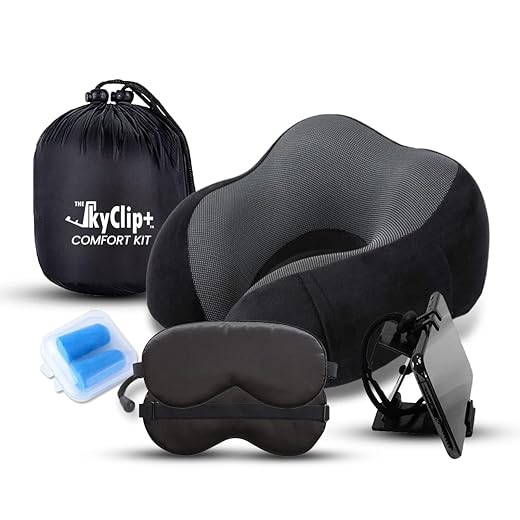
– SkyClip+ memory foam neck pillow kit in my carry-on for red-eyes
Also, the section on ‘Protecting Electronics’ made me laugh because yes, don’t turn into a bubble wrap hoarder. 😂
Question: do you recommend putting the power bank (iNiU) in checked luggage sometimes, or always carry-on?
Great checklist, Maya — very actionable. Quick safety note: power banks should always be carry-on (airline regs), so keep your iNiU with you. That also helps if you need a quick top-up during layovers.
Carry-on only. Had a near miss with a power bank in checked baggage once — airport staff caught it, but what a headache.
Loved the ‘Gadget Tetris’ metaphor — nailed it. I swear by the iNiU 10000mAh for short trips, and pairing it with the UGREEN Nexode 65W at the hotel keeps everything happy.
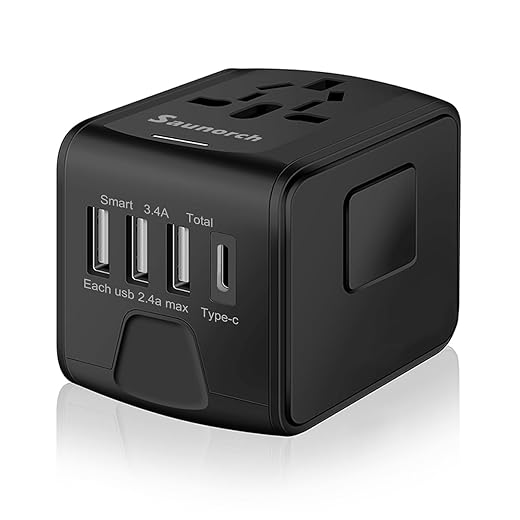
One thing I’d add: label your pouches with a tiny indicator of what’s inside (cables, dongles, batteries). Makes security and airport recovery way less stressful. Also, anyone else feel like the 5-in-1 adapter is the unsung hero of international travel? 😅
I tried the iNiU and it was perfect for a weekend. Heads up: if you’re charging a laptop too, the 10k might not cut it depending on the model.
Thanks, David — glad the metaphor landed! Totally agree on labeling pouches. Small visual cues save so much time at security or when you’re half-asleep at a gate.
100% on the labels. I color-code mine with washi tape. Also, pro-tip: keep the adapter in a clear pocket for faster security checks.
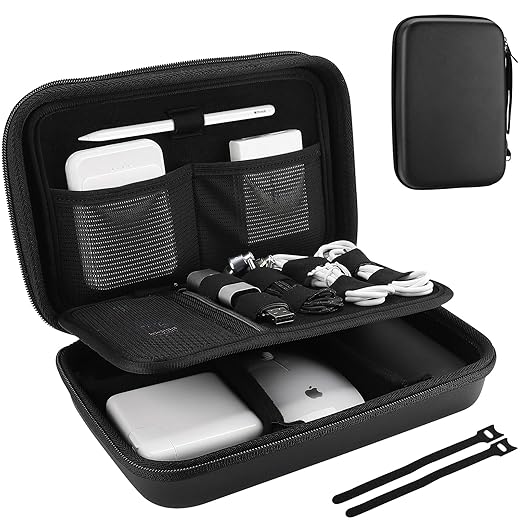
Nice roundup. Quick question: the ‘Hard Shell Travel Case for Laptop Accessories’ — is it roomy enough for a mouse, portable SSD, dongles, and a small power brick? Also, does the Shockproof Foam Case for 9–11 Inch Tablets have removable inserts for cables?
I’m trying to minimize the number of pouches I bring but still keep things organized. Thanks in advance! 🙏
If you want to minimize pouches: use one medium packing cube with internal dividers, and place the hard shell inside that. Keeps everything consolidated and easy to pull out at security.
Hi Rachel — great questions. The hard shell case usually accommodates a mouse, SSD, a few dongles, and a compact power brick (depends on brick size). If your brick is bulky, you might need a slightly larger case.
The shockproof foam tablet case often has removable/adjustable foam inserts on many models, letting you carve spaces for a cable or tiny accessory. Check the product description for “customizable foam” but many versions support that.
I fit a mouse, SSD, and adapters in mine with room to spare. I keep the power brick in a separate pouch because it’s weighty.
OK, confession time: I am a (recovering?) bubble-wrap enthusiast. The article shamed me into buying a shockproof foam case for my tablet and wow — game changer.
Also, pro sarcasm: “Protecting Your Electronics Without Turning Into a Bubble Wrap Hoarder” — I read that chapter like it was a self-help guide.
Real talk though: the Hard Shell Travel Case for Laptop Accessories was oddly satisfying. Everything has a place and doesn’t migrate like socks in a dryer.
Has anyone tried combining the SkyClip+ with a jacket hood for extra nap ergonomics? Asking for a friend. 😴
I do the jacket hood trick all the time. Not super classy, but it works on budget flights. The neck pillow kit is much comfier though.
Bubble-wrap cult member here too, but the foam case is less wasteful and tidier. Win-win.
Haha, the hood + SkyClip+ combo sounds inventive. Glad the foam case helped — it’s surprising how much protection you get without adding bulk.
The hard shell case saved my USB-C hub from getting crushed. Worth the space in my carry-on.
Also worth noting: pack heavier items closer to the wheelbase (if rolling) or the spine of your backpack. Keeps balance and avoids accidental drops.
Quick note from my last trip: the iNiU 10000mAh is perfect for daytime flights but bring the UGREEN 65W if you’re charging a laptop between meetings. TSA asked me once if the power bank was spare battery and I had to explain it — keep documentation or a copy of specs handy if you travel internationally!
I’ve zipped a small printout into the pouch with my power bank. Felt ridiculous at first but saved time later.
Good reminder about documentation. Some countries/airlines have stricter rules; a screenshot of capacity/specs helps in a pinch.
A few practical tweaks I’d add to the ‘Airport Day Tactics’ section:
1) Charge the UGREEN Nexode 65W overnight and keep it in an easy-to-reach pocket for unexpected delays.
2) Put the 5-in-1 adapter in a designated ‘outlet’ pouch so you don’t have to rummage at cafes.
3) Keep a tiny toolkit (mini screwdriver) in the hard shell laptop accessories case — saved me once when a hinge screw loosened.
Also, tiny rant: security bins that are too small for a laptop still happen. Why are airlines like this?? 😤
Agree on the adapter pouch. I always forget it and then scramble in coffee shops. Pro tip: keep one small cable tied to the adapter so you never forget which end goes where.
Solid additions, Olivia. The mini screwdriver is an excellent suggestion — and yes, airport bin sizing is a universal mystery.
Also, when packing adapters and plugs, tuck them behind a soft layer so they don’t scratch screens. The hard shell case is perfect for that purpose.
That screwdriver saved me on a layover in Lisbon. 10/10 recommend lol.